
Live Or Die By Your Shooting Schedule
During production you will live and die by your shooting schedule. Getting it right is vital. It’s a working bible that may change daily, depending on what the weather’s doing, and the availability of cast and locations.
The schedule is traditionally prepared by your 1st AD, director, production manager or producer. It must include important information such as contact details for cast and crew, a prop list, wardrobe requirements and special effects needed.
Lining the script
Lining the script requires combing through it to identify what is required for each scene. Grab some highlighters and get even more familiar with your script. Use a different colour for each of the following:
Characters
Extras
Wardrobe
Make-up
Props
Vehicles
Locations (or sets)
Special effects
Any other items such as animals or special equipment
Whether the scene takes place during the day or at night.
Number each scene and estimate how long it is in terms of screen time. A key rule of thumb is that each page represents one minute of screen time, so a scene that takes half a page is probably around 30 seconds.
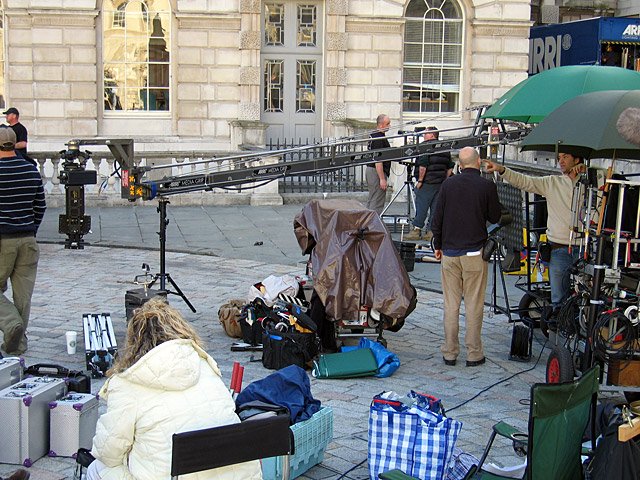
Remember to factor in movement of equipment and crew into your schedule. Photo by Andrew Dunn (cc license)
Breaking it down
The items you highlighted above can now be used to populate your fancy scheduling software – or you could just add those details to an Excel spreadsheet. Here’s a step-by-step guide to this technique:
Label the first column ‘date’, the next column ‘days’, then ‘scene’, ‘time’, ‘location’, and the rest of the columns should be labeled with the names of your actors.
In the ‘scene’ column, list the scene numbers and a couple of words describing every scene in the screenplay, from first to last. Then estimate how many days it will take to film the scene in the ‘days’ column, e.g. 0.5 days.
Tip: Generally you can shoot up to six pages per day if you go all out, but 3-4 pages per day is standard. Aim for fewer pages if you have to move locations on that day.
In the next column enter an ‘N’ or ‘D’ for Night or Day, then add in the location number in the location column.
In the columns for the actors, put a ‘X’ for each scene depending on whether the actor is required for that scene.
Use Excel to sort the entire spreadsheet by the ‘location’ column, then secondarily by the ‘time’ column (in the same search). Your goal is to have a schedule that collects the locations and actors together, so you waste the minimum amount of everyone’s time. You may decide to try sorting different ways until you have the most logical schedule possible. If you have an actor who can only film on one day, then you need to sort on that actor’s column so their scenes are grouped together.
Your next step is to start at the first row and count up the fractions of days for each scene until you have a full day, and put a real starting date in the ‘date’ column. Start counting again until you have another full day and put in the next filming date. Eventually you will have a date next to each group of scenes. This is your first draft schedule.
Tip: If possible, plan extra time or days for unscheduled events and pick-up shots. You never know: audio may not have recorded properly, a shot may have been left out, the continuity could be wrong or perhaps files were not saved.
Now you need to contact every person involved in the film to find out their availability. This is where you start to really appreciate having a small cast and crew! Everyone will have an issue with at least one date. Get them in the same room to discuss availability if you can, to speed up this process.
Eventually you will have a schedule. You will also understand why it is so important to stay on schedule. Losing even one day will mess up everyone’s personal schedule and require a recalculation of the entire timetable.
Be kind to yourself: tips for beginners
Schedule an achievable first day on set – so the cast and crew will go away feeling pleased, rather than disheartened.
Be realistic about what you can achieve in a day, and don’t overstretch yourself or your team. Crews should not work for more than 10 hours per day in New Zealand, unless there is a very good reason, and even then you need to ask their permission first.
Use a calendar when scheduling your film, and remember to factor in weekends and any public holidays that fall during your shoot.
Shooting your short film over a series of weekends may seem like a good idea, but this will interrupt the ‘flow’ of the shoot and there is more potential for the availability of items you need to change.
Every time you move location, you will lose valuable time: setting up again, figuring out the best angles, positioning lights and mics. Even if you move to a different room in the same house, you will need to factor in time to move and reset all the gear.
Scenes with crowds, children, animals, fight sequences or special effects take longer to shoot.
Holding rehearsals for your actors beforehand will help speed up the shooting process.
Stick to your schedule as much as you can, but know that it’s almost certain to change during production. So have lots of Plan Bs, such as alternate locations for when it rains.